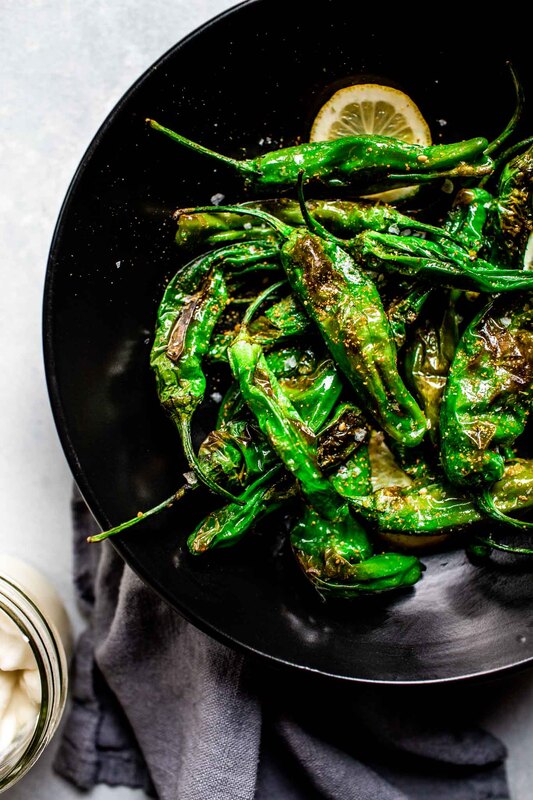
 Image from: https://www.platingsandpairings.com/wp-content/uploads/2018/10/shishito-peppers-5.jpg Pan-Seared Shishito Peppers by: CandaceIngredients:
Directions:
1 Comment
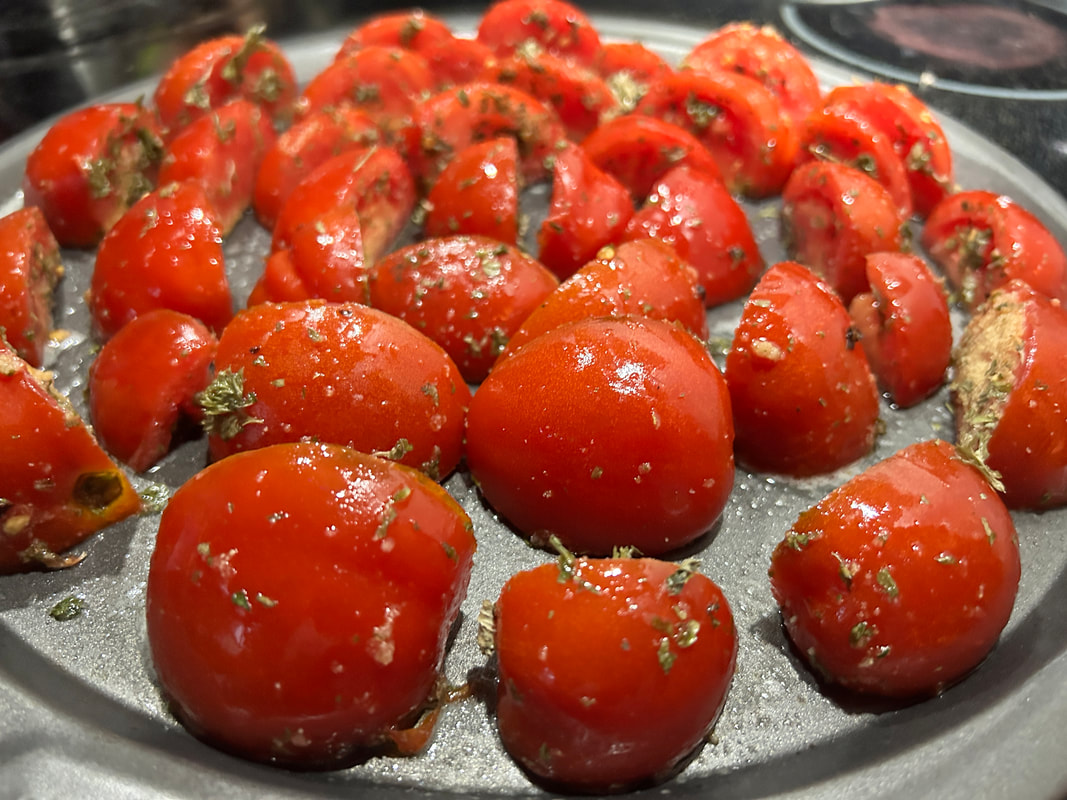
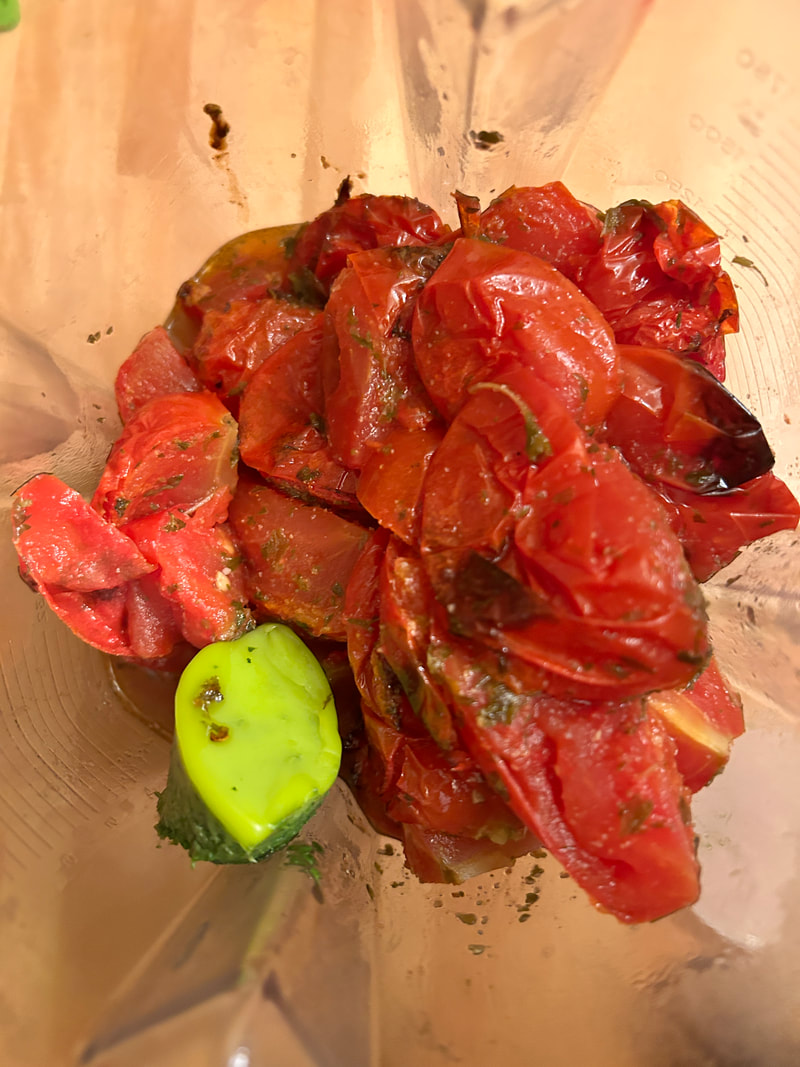
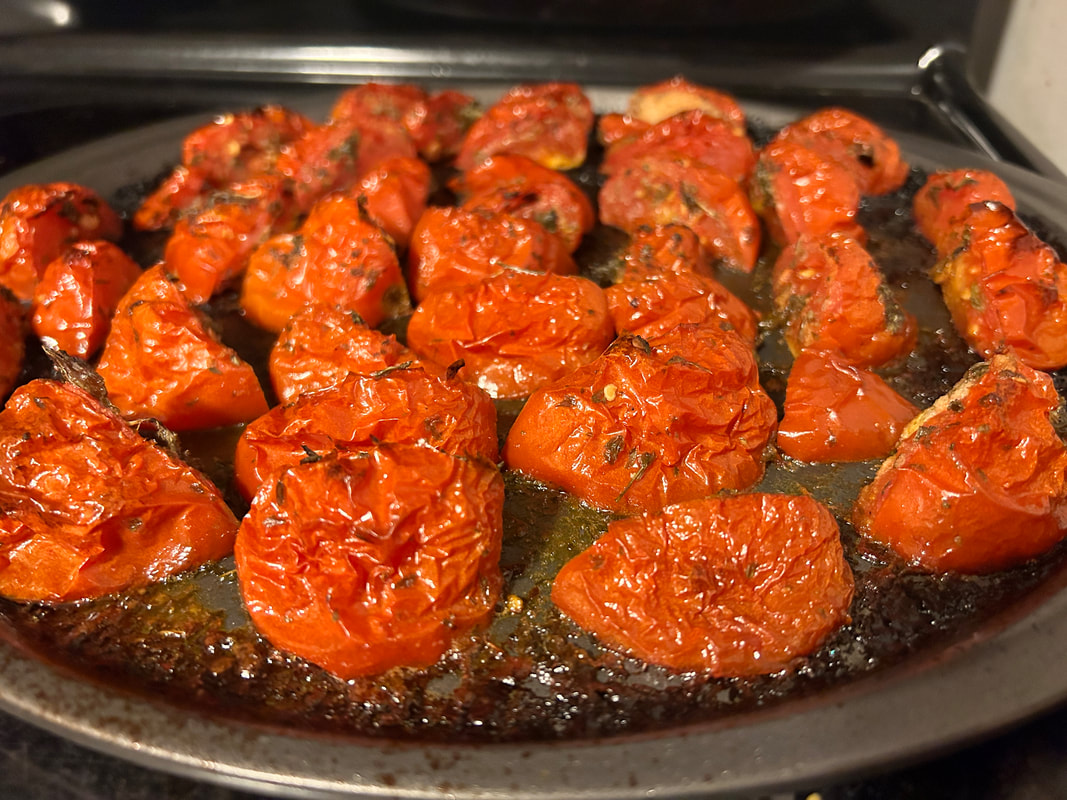
Roasted Tomato Sauce by: CandaceIngredients:
Directions:
 SOY Marinated Eggs by: CandaceIngredients:
Directions:
 RECIPE: Armine's Grandmother's Eggplant StewIngredients:
Directions:
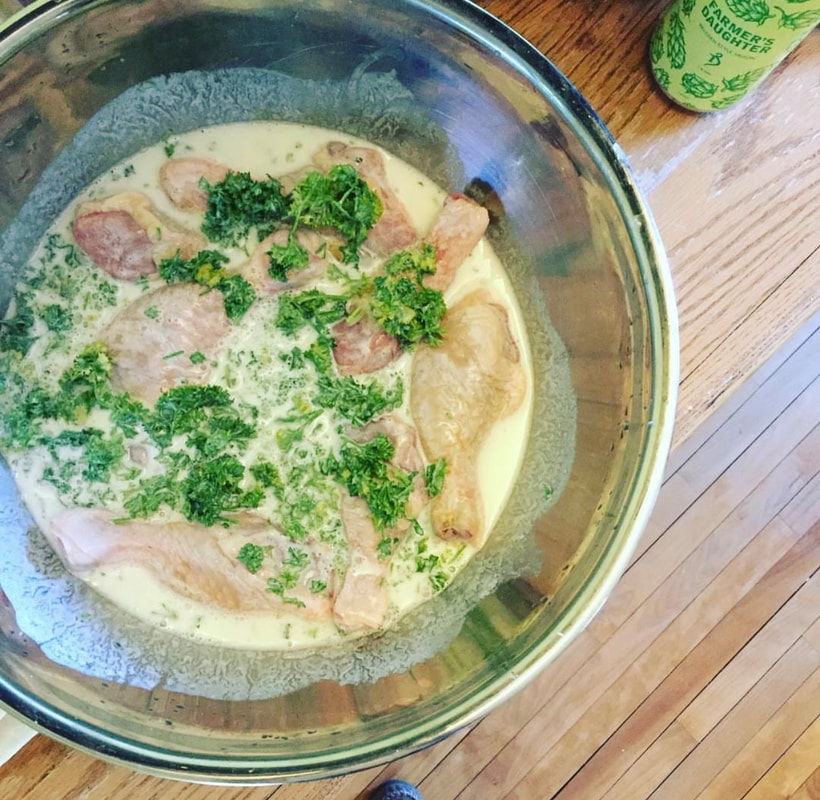 Buttermilk Chicken Legs by: CandaceIngredients:
Why marinate chicken in buttermilk? The buttermilk tenderizes the chicken meat making it juicier and much more flavorful. Directions: In a medium bowl pour 2 cups of milk and 2 tablespoons of ACV. Allow to sit for up to 5 mins to begin to "sour". After 5 mins whisk together until well blended. Place the chicken, parsley, salt and pepper into the buttermilk mixture in the bowl. Cover and put into the refrigerator overnight (at least 4 hours before cooking). After marinating the chicken is complete begin to prepare the cooking process. Preheat the oven to 400 degrees. While the chicken is still marinating in the buttermilk get a shallow bowl/casserole dish mix the flour, cornmeal and Lil Ham Spice blend together until well incorporated. Set aside the breading. Assemble an oven safe baking dish with a wire rack. Set aside. Remove the chicken leg from the buttermilk marinade and dredge in the breading mix then place on the wire rack. Place in the oven for about 45 minutes or until the meat thermometer reads 165 degrees. Sprinkle with chopped fresh parsley and ENJOY! 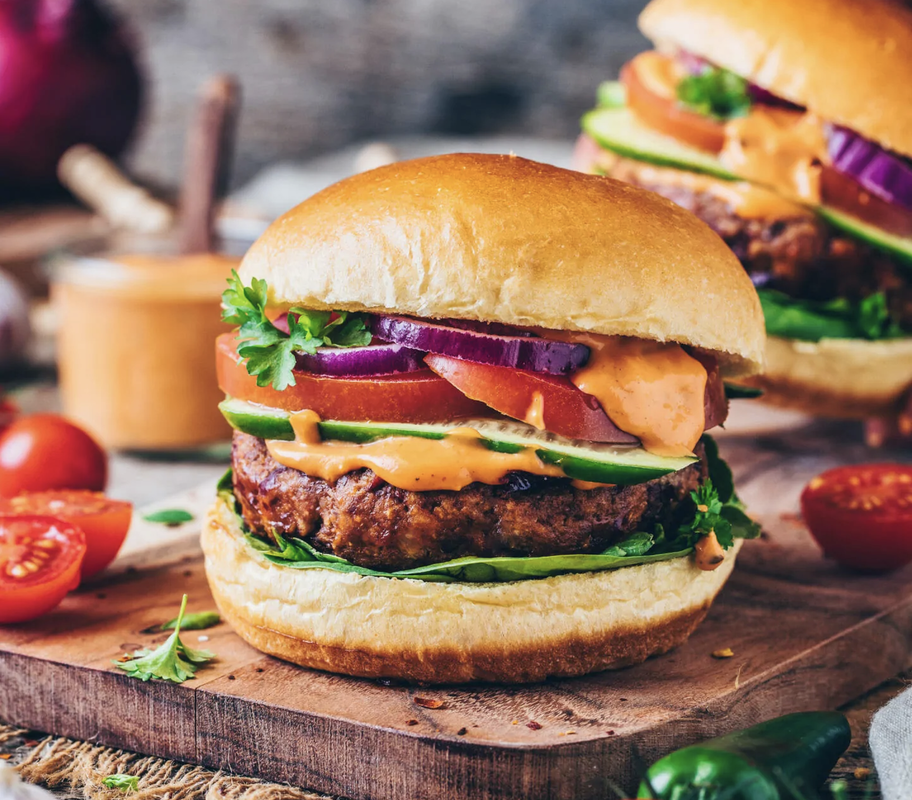 Pic from: https://biancazapatka.com/en/the-best-vegan-burger-recipe/ It's Burger Time!! ~ Beef Edition by: CandaceIngredients:
Directions: Making the burger mixture - In a medium bowl place whisk together 1 egg, 2 teaspoons of Worcestershire sauce (or substitute) and1.5 tablespoons of Lil Ham Spice blend. Gently break apart pieces of ground beef into the egg mixture. Using your hands massage the egg mixture into the ground beef until well incorporated. (Try not to over mix/manipulate the ground beed.) Shaping the burgers - 1 lb of ground beef split into 4 equal parts makes 4 quarter pound burgers. Begin each individual burger with a light-handed roll until a loose meatball share is formed; repeat 3 more times to make 4 burgers total. Take each meatball shape into the palm of both hands and gently flatten until the burger patty is about 3/4 of an inch thick; lay each patty down onto a meat safe surface. Take a tablespoon and lightly press and indent into the center of each patty. This indent will help to prevent the patty center from puffing up while cooking. 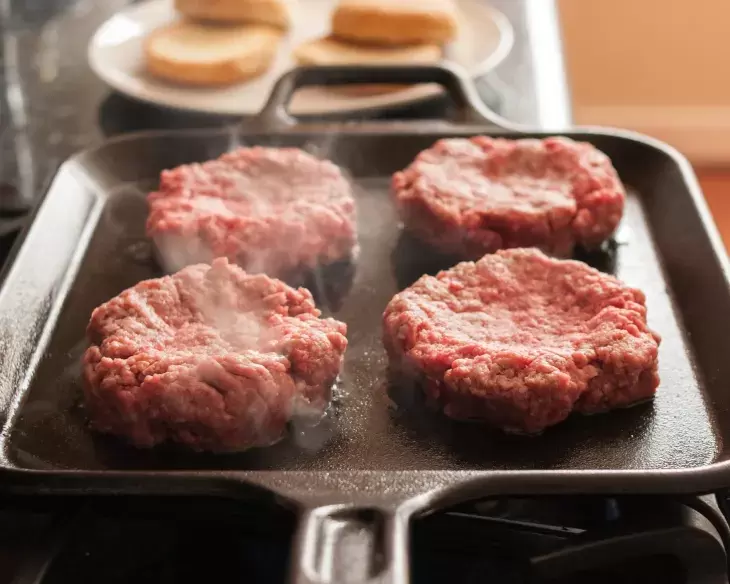 Pic from: https://www.thekitchn.com/how-to-make-burgers-on-the-stovetop-cooking-lessons-from-the-kitchn-217722 Cooking Burgers (on a stovetop) - Heat a lightly greased/sprayed pan (preferably cast iron) over medium high heat. Place the patty on the pan; you should hear it sizzle. Allow the patty to cook for half of the total time listed below (minimally disturbed) then flip and cook for the remainder of time on the other side. Burger Cooking Times -
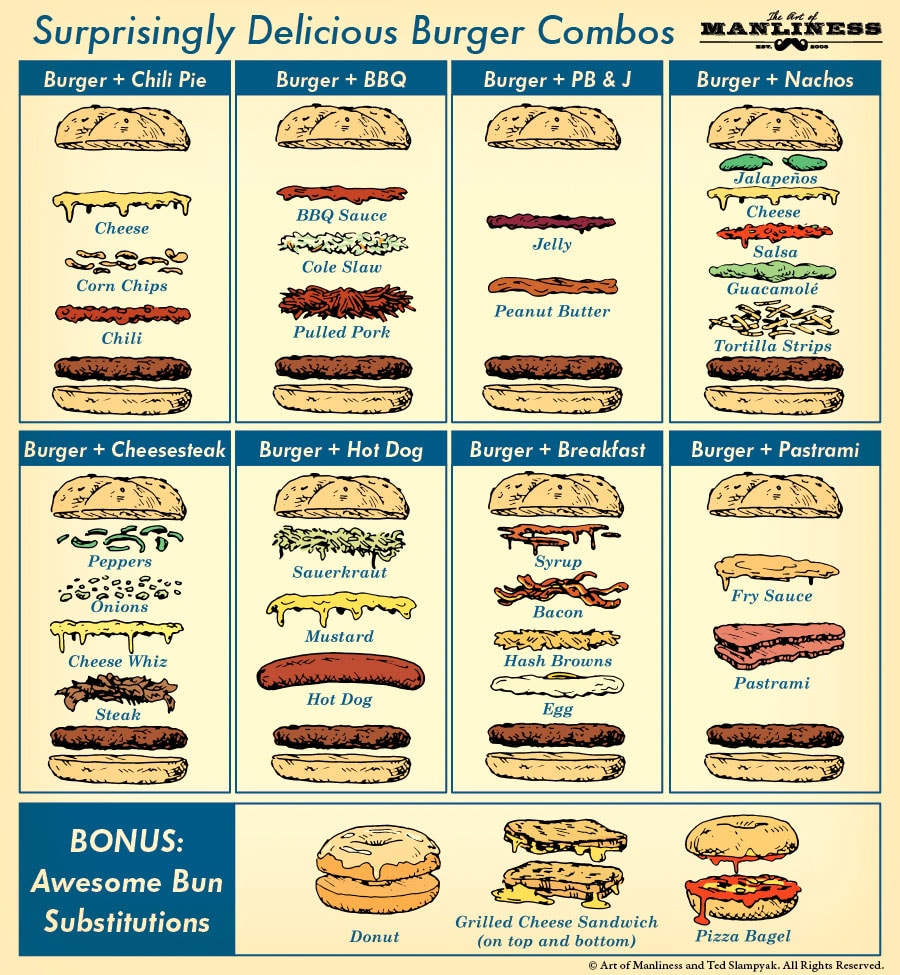
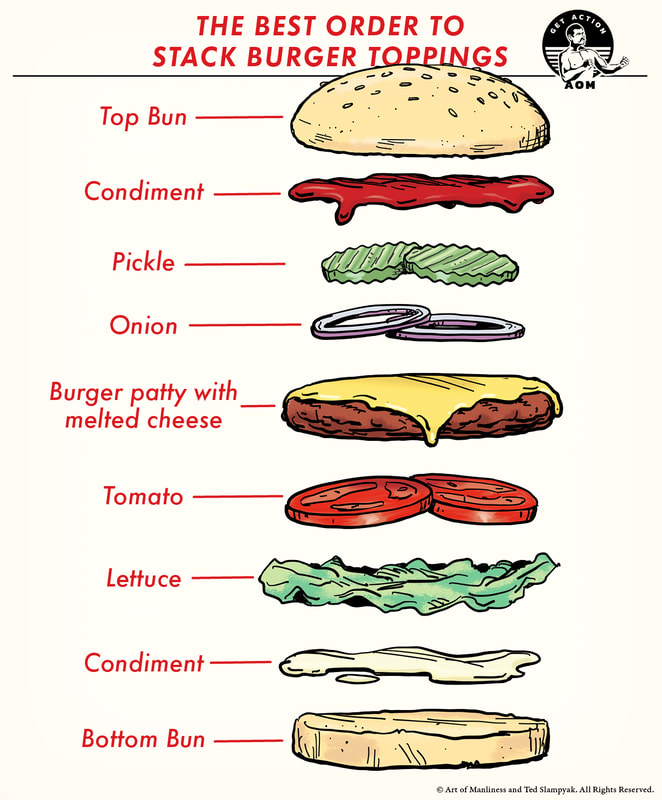
Assembling a Burger - Assembling a burger is a very personal thing. There are many variations of order and toppings. This recipe is using toppings that are informed by our weekly Community Care Shares but feel free to use your own favorite burger toppings.
Using the ingredients above feel free to assemble your burger as your prefer then ENJOY!!! 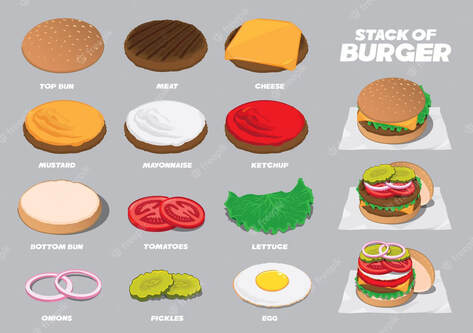 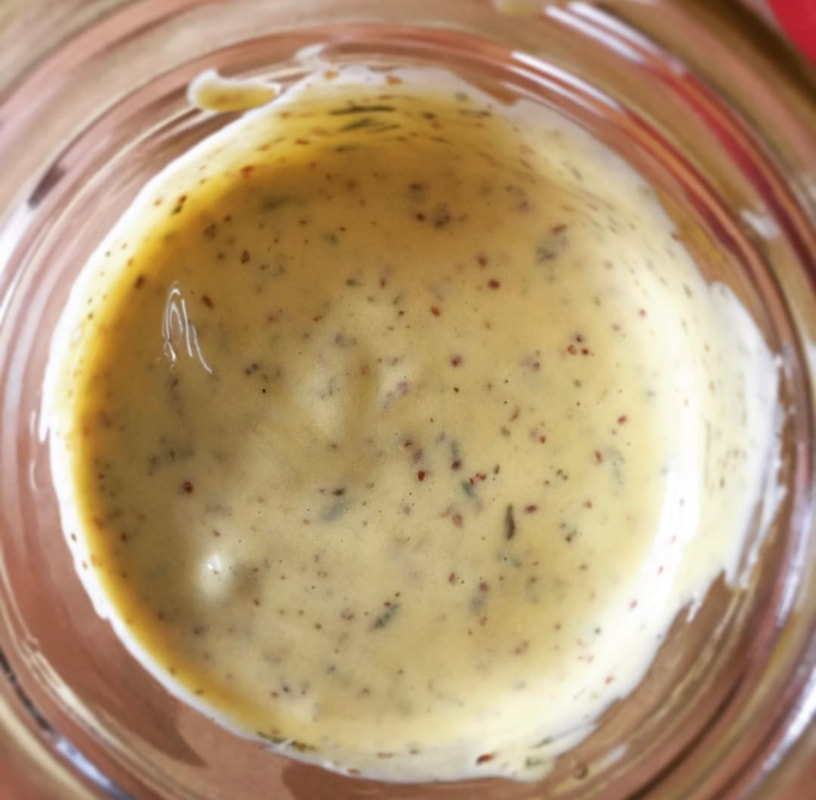 Homemade Garlic Aioli by: CandaceIngredients:
Directions: Using a food processor or immersion blender - combine the egg yolks, whole garlic cloves, mustard and salt together. Keeping the food processor or immersion blender on, SLOWLY add the olive oil to the mixture so that it can begin to emulsify. Once its starts to emulsify you can begin to add the olive oil a little more quickly BUT make sure to still take your time so you do not "break" the aioli's formation. If the aioli "breaks" you will need to start all over again so honor the intentional pace needed to make a well formed aioli. Once you have slowly poured in 1.5 cups of oil you can season with salt more to your liking. Store in the fridge for up to a week or more. Using a whisk - combine the egg yolks, whole garlic cloves, mustard and salt together until well incorporated. Take a little arm break from whisking because emulsifying via whisk can be an arm work out! Once you're ready begin to whisk while SLOWLY adding the olive oil to the mixture so that it can begin to emulsify. Once its starts to emulsify you can begin to add the olive oil a little more quickly BUT make sure to still take your time so you do not "break" the aioli's formation. If the aioli "breaks" you will need to start all over again so honor the intentional pace needed to make a well formed aioli. Once you have slowly poured in 1.5 cups of oil you can season with salt more to your liking. Store in the fridge for up to a week or more.  Summer Veggie Frittata by: Candace (serves 4 people)Ingredients:
Directions: This is the one pan method. Use an oven-safe, stove top pan, like a cast iron pan. (I will provide notes for folks who do not have a pan that can go into the oven in italics.) Preheat the oven to 425 degrees. In a medium mixing bowl combine the eggs, milk, salt and pepper and whisk together until well blended. Set aside. One Pan Method: In a cast iron pan over medium heat add a splash of olive oil and allow to heat. When the oil becomes more viscous or runny it's ready. Add chopped garlic to the pan and sauté for up to a minute. Add both the chopped onions and whites of the scallions; sauté for about a minute then add kale and green beans to the pan to sauté for a couple minutes. Give the pan a little shake to evenly distribute the contents across the pan. Then pour in the egg mixture, plop the halved tomatoes across the pan evenly then sprinkle the green scallions and basil across the pan (keep some basil and green scallions aside for garnish later). Take a fork and make sure the basil is submerged into the eggs. Leave this undisturbed on the stovetop for up to a couple of minutes until the edges begin to lightly solidify. Then mindfully place the entire pan into the oven and allow it to bake for up to 15 minutes (keep an eye on it during this time). Remove the frittata when the eggs are fluffy/puffed and the center has a slight movement when you give the pan and gentle shimmy. Allow it to cool on a rack then garnish with basil and green scallions. Feel free to serve with some cheddar cheese or hot sauce if that's to your liking. NOTE: If you are unable to use the one pan method here's an alternative below in italics. In a pan over medium heat add a splash of olive oil and allow to heat. When the oil becomes more viscous or runny it's ready. Add chopped garlic to the pan and sauté for up to a minute. Add both the chopped onions and whites of the scallions; sauté for about a minute then add kale and green beans to the pan to sauté for a couple minutes. Add the halved tomatoes to the pan evenly along with the green scallions and basil; quickly sauté for at most a minute. (Keep some of the basil and green scallions aside for garnish later.) In a buttered/sprayed casserole dish pour the egg mixture and fold in the sautéed veggie mixture. Mindfully place the casserole dish into the oven and allow it to bake for up to 20 - 25 minutes (keep an eye on it during this time). Remove the frittata when the eggs are fluffy/puffed and the center has a slight movement when you give the pan and gentle shimmy. Allow it to cool on a rack then garnish with basil and green scallions. Feel free to serve with some cheddar cheese or hot sauce if that's to your liking. ENJOY!! 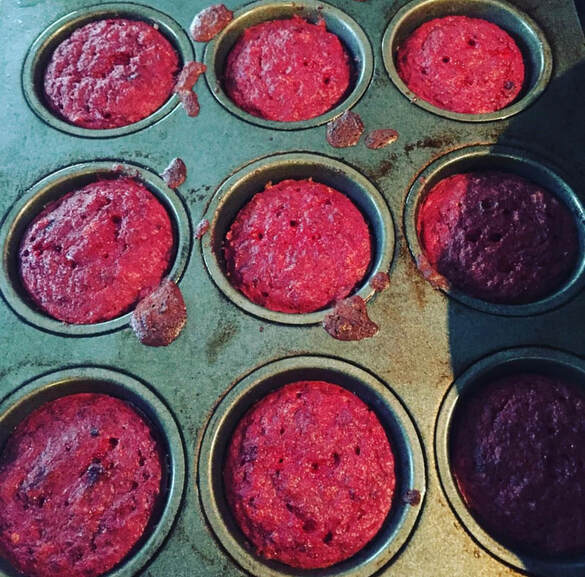 Beet Soufflés by CandaceIngredients:
Directions: Preheat the oven to 350 degrees Butter/Spray 3 small soufflé dishes OR you can use a cupcake tray like shown in the picture - set aside Melt the 2tblsp of unsalted butter and set aside (NOTE: Adding hot melted butter to an egg based mixture can "cook/scramble" the eggs causing a lumpy batter. Therefore, it's important to melt the butter a few minutes in advance of making a batter so that the melted butter has time to cool before being added to the batter.) Place the beets into a pot and cover with water. Bring to a boil. Cook for approximately 15 minutes or until tender Drain in a strainer. Place the drained beets into a bowl to mash or into a food processor to puree. Set aside. In a medium mixing bowl whisk the eggs and then combine with the cooled melted butter and maple syrup. Sift the flour and baking soda into the mixture and intentionally whisk until well incorporated. Fold in the orange zest to the batter. Fill the pre-buttered soufflé dishes (or cupcake tray) with the batter. Bake in the oven at 350 degrees for 30 minutes (making sure not the open the oven until they are done). Remove from oven and let cool to room temperature then carefully remove from the dishes/cupcake tray and plate with the goat cheese spread. Dilly Goat Cheese Spread by CandaceIngredients:
Directions: In a small bowl combine the chèvre, milk, dill and salt until well incorporated. Plating/ServingOn a small plate spread some of the Dilly Goat Cheese Spread then place the beet soufflé on top of the smear. Optional, top with a small sprig of dill. ENJOY!
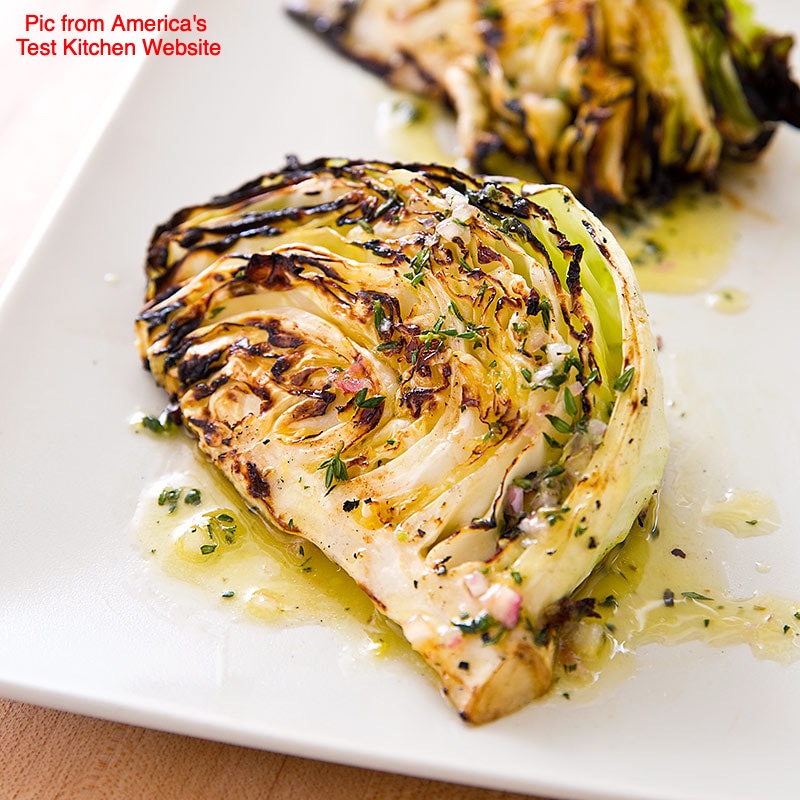 Grilled Cabbage by: VicIngredients
Directions: Preheat your grill to medium high heat (if using a charcoal grill light your charcoal until ashen, this can also be done on the stove in a cast iron skillet) Cut cabbage into 1 ¼” thick slices. Lay flat on a baking sheet. Drizzle with oil of your choice (olive oil or veggie oil would be best) and rub in. Sprinkle with salt and pepper to your liking. Repeat on the other side. Place cabbage on to grill (or pan) and cook for at least 5 minutes per side or until cabbage is softened and charred to your preference (I like a nice char on mine 🙂). Dress with your preferred sauce* and enjoy! *The cabbage would be great with the herby vinaigrette or chimichurri recipe or feel free to freestyle and try your own dressing |
Archives
September 2023
Categories |

 RSS Feed